

(Last years Cats Costume in above photo)
OK I know I haven't kept up on this blog much. I also know that I have to show you around where we live now and ah yes we made it to AZ safely and my son made it back to Alaska safely too.Anyhow, we are upon Halloween this coming week....Yes Don and I are going to dress up together as the Cats from "Cats The Musical" You all seen my costume last year that I designed:

So what is going on this year? Well I made ANOTHER Costume! Yep you heard me right, Another Cats the Musical Costume. So I wanted to show you the steps on this one what it looked like at first. Then show you the steps on how I made it. So Enjoy!! ( This years was a challenge because the fur is VERY different added on. - I also made my OWN wig this year out of Lions Brand Homespun yarn.) Oh yeah and I can't forget the leg warmers and wrist pieces, I made those too. ENJOY now!
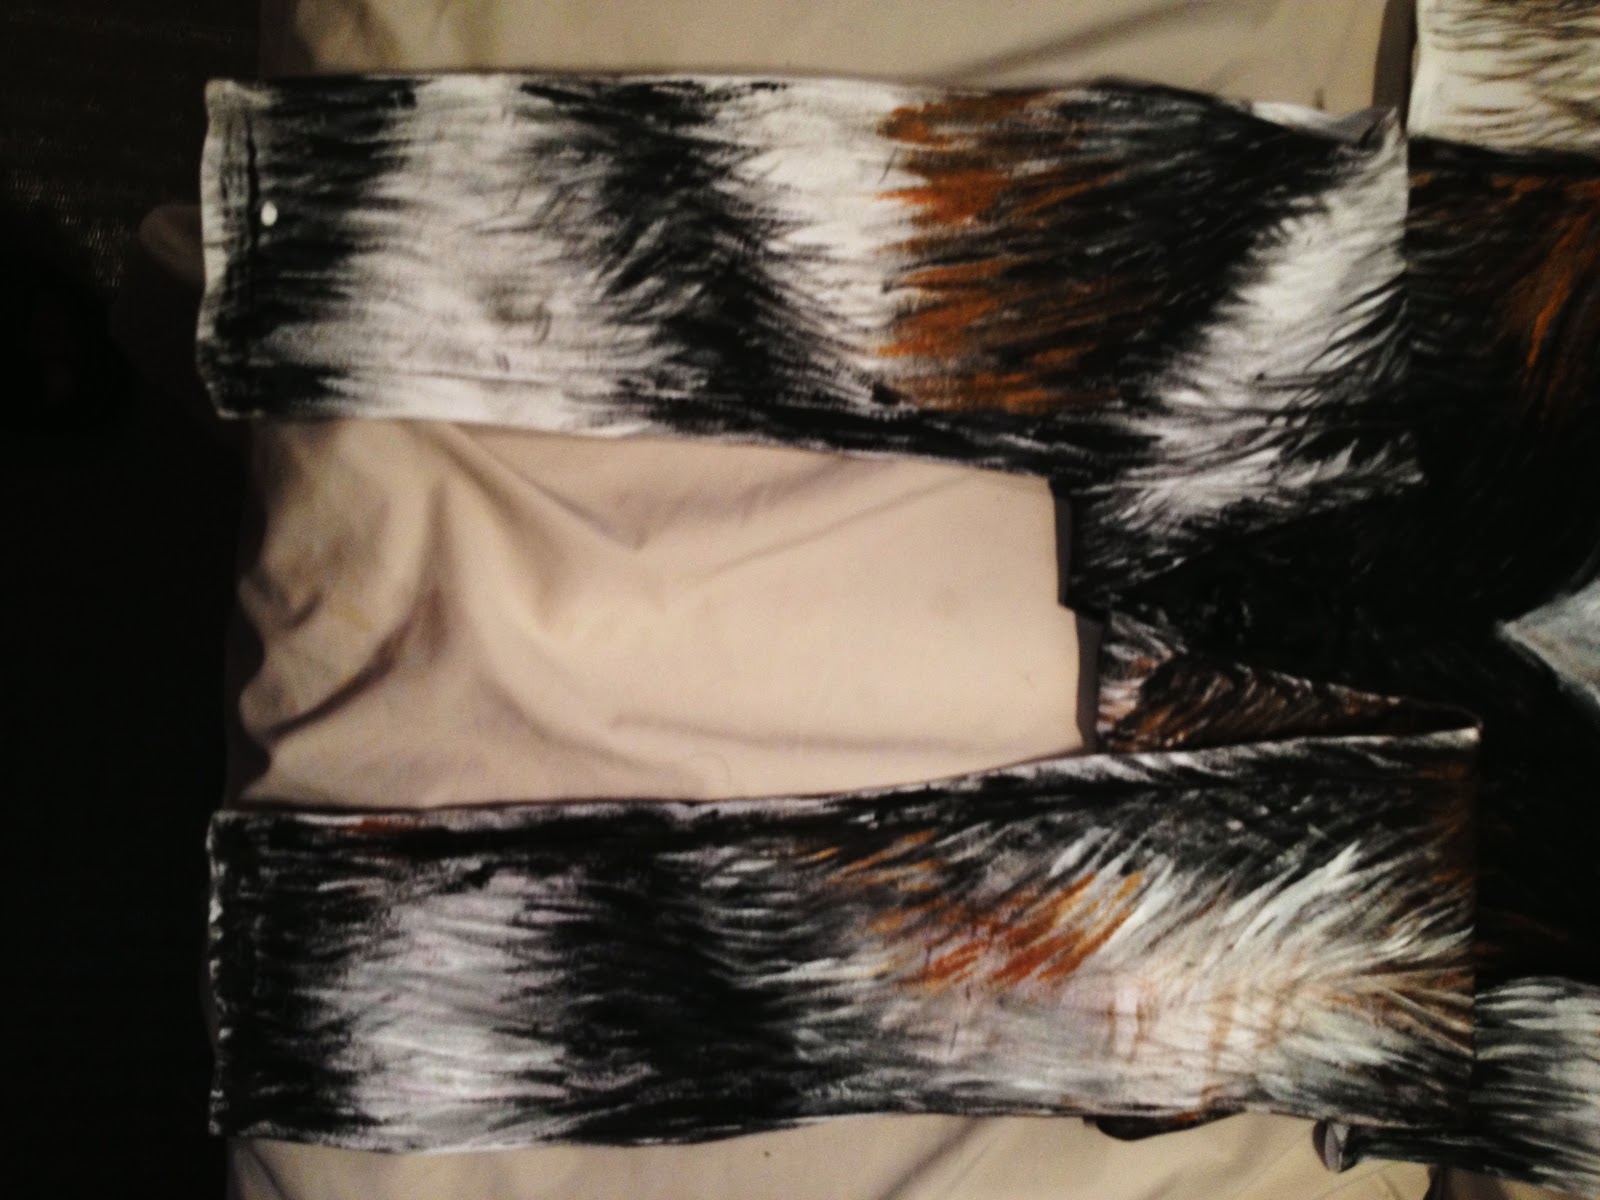
I bought a WHITE unitard this year versus a black one. I thought the white colored unitard were the same material, but low and behold it wasn't! Yes it is still spandex, but the material is more cotton spandex. So it was a challenge this year to paint it all.


Here I am starting to paint with black fabric paint.


Looking good so far?

Now in this photo above I am painting more towards the leg area.
White is my base color this year, so the black paint stands out better!

Now I am starting on the arms with Browns. Some dark brown and some medium brown.

As you can see I have a rough sketching of paint of how I would like it to look.

Now I add a lot more brown in special areas.
Oh look Sassie is showing off her colors too! LOL

At this time I have the front of the costume just about done to dry overnight so I can go over it again in the morning with MORE color! Yes on spandex you must let the first coat dry before you add more paint. fun fun!

Waiting to Dry overnight.
I know I said I was going to start on the front again in the morning, but however I wanted to get the base coat of paint on the backside first. And I did ......


Let me tell you and I need to be honest, I didn't get many photos of me working on the back side because by this time I was ready to give up. By this time I was getting so frustrated with the fabric that I wanted to call it quits. But I didn't and I needed to get the base coat of paint on it. I plugged away at it anyhow.
This is another day and I started the 2nd layer of paint and also the 3rd layer. You will see a variety of different colors of browns, golds, white and black.


Side ways photo
Note photos above is not completely finished yet.
The real standing out gold is a metallic gold fabric paint. I like how this color really turned out. I wasn't sure at first. I have to say this is my favorite paint on my suit right now. So easy to work with it was.

The paint is finished here on the front now. If I need to touch it up again after I put it on I will then. :)
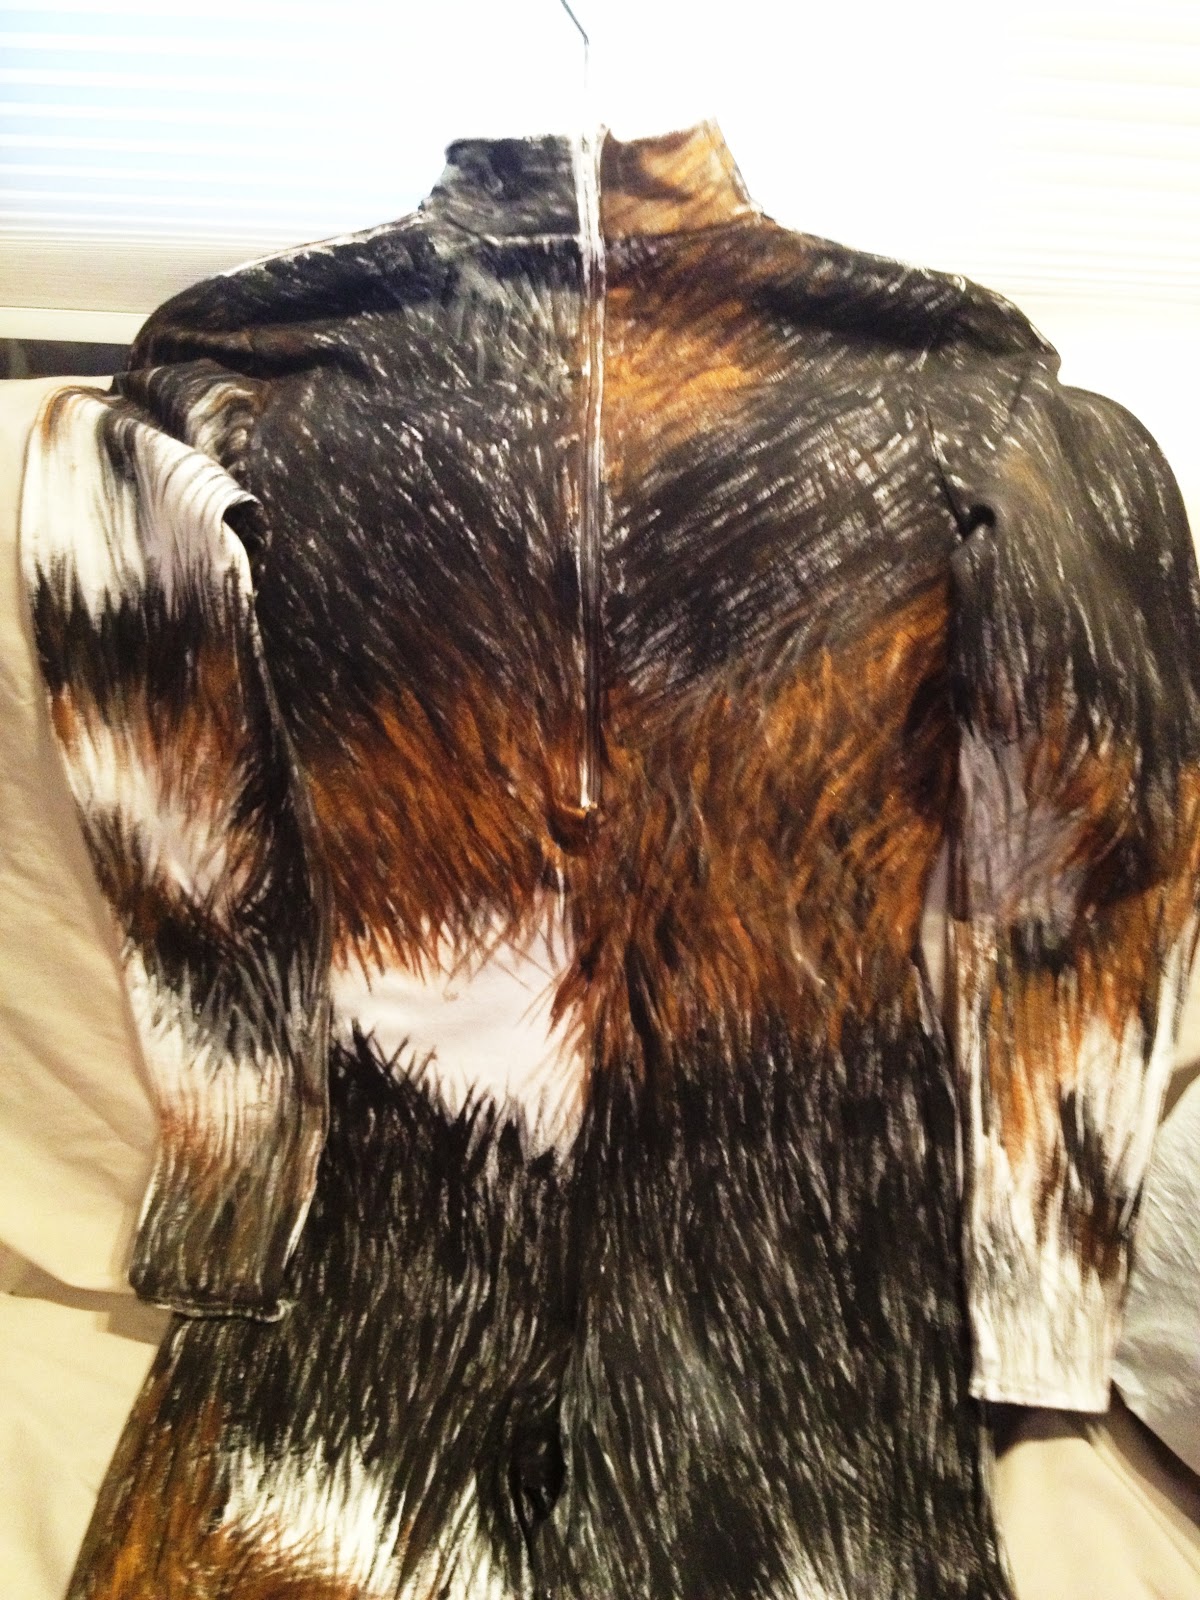

This is now the finished painting on the back side.
Here is the legs photo (sorry it is side ways)

Full back

Fur is not on yet in above photo.

In this photo I am showing you how different each of them are before I put more of the browns on the new one. (Just remember the one from last year has fur on it)
I know you want to see the finished product of the costume but I am going to make you wait a bit so I can show you what I did before the whole thing got done.
This you see below is the knitting loom that I borrowed from my nieces. (Thank you). This is me making the Leg warmers for my outfit. This year I decided instead of spending lots of money on the extras, that I would try to make them on my own instead. Like the wrist pieces, leg warmers, the fur, and especially "The WIG." It all has been quite challenging indeed. I also have been pressed for time too. But God and my guardian angels assisted me with Patience and things went smoothly.


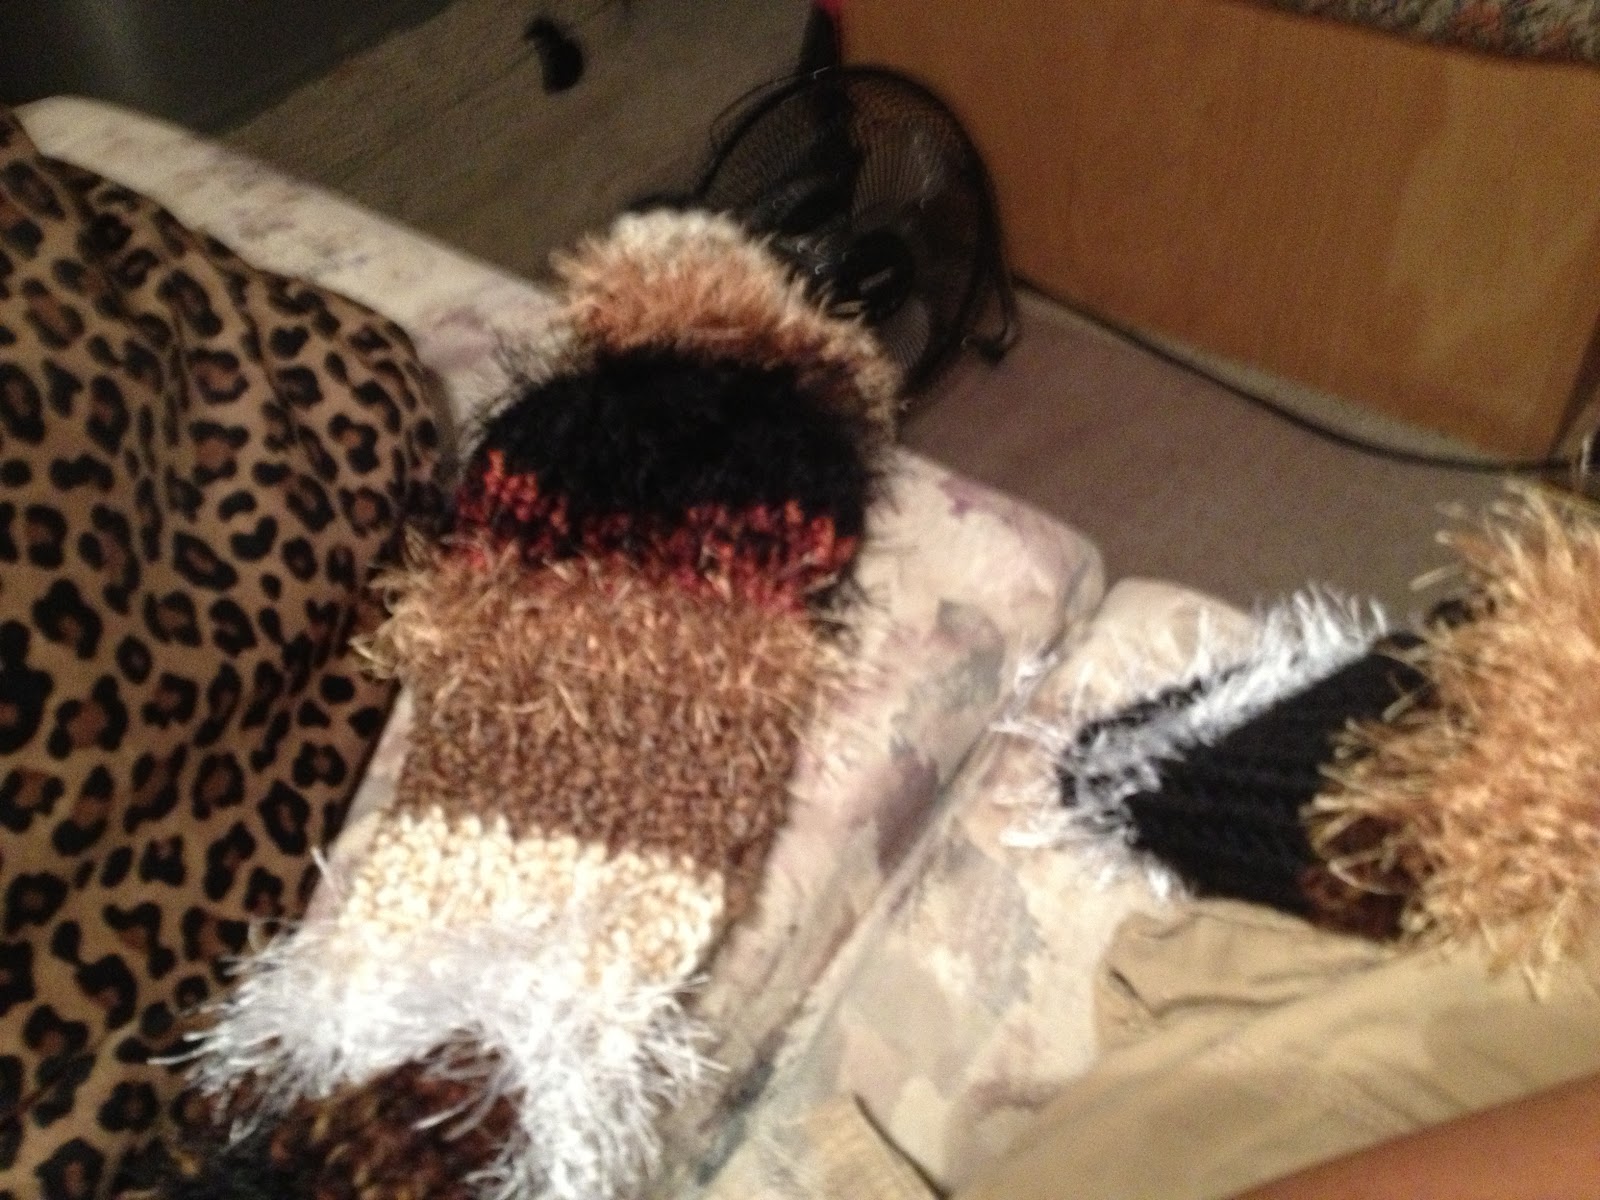
The leg warmers in above photo. :)
Now for the wrist covers that go above my gloves.


These will go above my gloves to make it look like I have fur on my wrists. :)

Here are my gloves one hand will be both White and Black and the other hand will be just Black color cordinated with the sleeves on my outfit.
Here is my tail below

Oh my Sassie is in this photo again, now showing her tail too! hahaha to funny - she loves her mama :)

Oh yes and now for the WIG
This is my second time around with my wig. The first time I thought I could escape from using a pantyhose so I used a stocking cap instead. I sat and cut 320 strands of yarn to fray them to make this wig. Then on top of that I needed to pull 740 threads from the Homespun yard so that I could fray them to make this wig. The other yard that I used was just the basic lions brand yarn, but however they weren't so easy to fray. I had to sit and pull those ones apart in order to get a comb to go through it. So I did just that, I was so excited that I finally got that done. So I put a towel inside the stocking cap to make it round. I took the hot glue gun that I borrowed from my parents. (Thank you) and I started gluing the yarn on...low and behold after I got that cap all done, I tried it on and it expanded to much and so it was way to loose, plus the style looked like crap. I didn't like it. Here is that wig to share, but wait till you see my finished 2nd wig after redoing new strands - yes I cut again 320 strands and pulled enough threads again. All for this NEW WIG that was to save me money in the long run. haha
The stocking cap look - YUCK!
Well I must have gotten rid of the photo of it - Your not missing anything really! LOL
Ok I had to start out with this cut Pantyhose this time.

Queen + is the best size to get to cut off for the wig piece to be glued on.
Then get yourself either a maniquin head or even a ball works to keep it round.
Next here are the strands that I cut - just omit the reddish colored ones (never used them).
As you can see the threads that hold the white and tan ones are still in there. Then the longest part was to pull them all out of each strands, each of them had 3 threads in them.My hubsband helped me a lot too pulling them out, because it hurt my fingers a lot.

As you can see I used Lion Brand Homespun yarn - this is the best one for this project. The other was just ok, but homespun is what you really want to use if you can get the right color. :)

As you can see with the photo below, how one has the threads in it and the other doesn't.You can now see the difference. But be careful when handling because if you pull the least bit, it 'will' pull apart. Be careful!

Now The starting of my wig.
You need to start out with the marking on the nylon where you want everything. Just like this tutorial that that I followed: Cats Wig Tutorial (Link is safe). You also need pieces of material for the sides beneath the ear piece. Use a hot glue gun and glue pieces on where you want the ears, then glue on pieces of fabric. Then on the fabric, glue on the yarn, then swoop it on the back of the bottom of the wig or you can leave hanging down for longer hair. I swooped it back and glued it, as you see here below photo.

Then lay it face down and start gluing pieces of yarn on. Be careful not to space it to much or you will have gaps and you don't want that.

Below you can see where the ears are. How do you make them pointed - use clear gel glue.

You can now see that I am forming a bang.


Make sure you have a circle on top for smaller plugs of yarn.

All done!

Front view

Side view

Another side view
&
Now for the back view

Important Note: Make sure each row you glue on use a fine tooth comb to make the hair a smoothed out finish. It will look great!!!
Would I make another wig again?
YES
The 2nd time around it was fun!
Oh yes and here is the extra yarn that I had to tie together to sew on my costume and remember I added a little to the last yrs costume too.

Yes you have to string all this extra yarn together in your hand to tie it together to make Fur. You can see how I did it in this photo.
BOO!!!

I suppose you want to see the final Product eh???
*smiles*
OKkkkkk I suppose I'll show ya!
Are you ready?
*
*
*
*
*
*
*
*
*
*
*
*
*
*
*
*

OK here we go.....
~
~
~
~
~
~
~
~
~
~
~
~
~
~
~
~
~


Ok ok Enough of the cat funnies......
*
*
*
*
*
*
*
But right now!!!

Here is what our costume looks like really now!
It is creepy!
I mean really creepy.
We just need the cat eye contacts to go with our really cool costumes!
I spent days and days and days working on this costume just for all of you to cool people!
This
years
costume
is
really
creative
and
easy
to
win
BIG
MONEY
!!!!
The
Cats
Prowl
at
night
in
these
costumes.

"She made me wear this just for you all to laugh at me ya know!"

"So really are you ready for our costumes now?"

OK really now here we go. Yes for sure now!
ENJOY!
Wait till you see us in photos or in person wearing these fabulous costumes!
I just wish we could find a GOOD HALLOWEEN COSTUME CONTEST
either in Sierra Vista, Tucson, or Bisbee area that doesn't cost a lot of money to get in the door.
Know of any?
Let us know asap by this week!
Thanks
for
being
patient
to
see
our
finished
COSTUMES
:)
Just know that I started this costume a couples days after we moved here at the end of Sept. I wanted to get this done before Halloween. I worked extremely hard on this new costume. I spent most of my time plugging away at this. I was in a bubble in my own world making this costume.
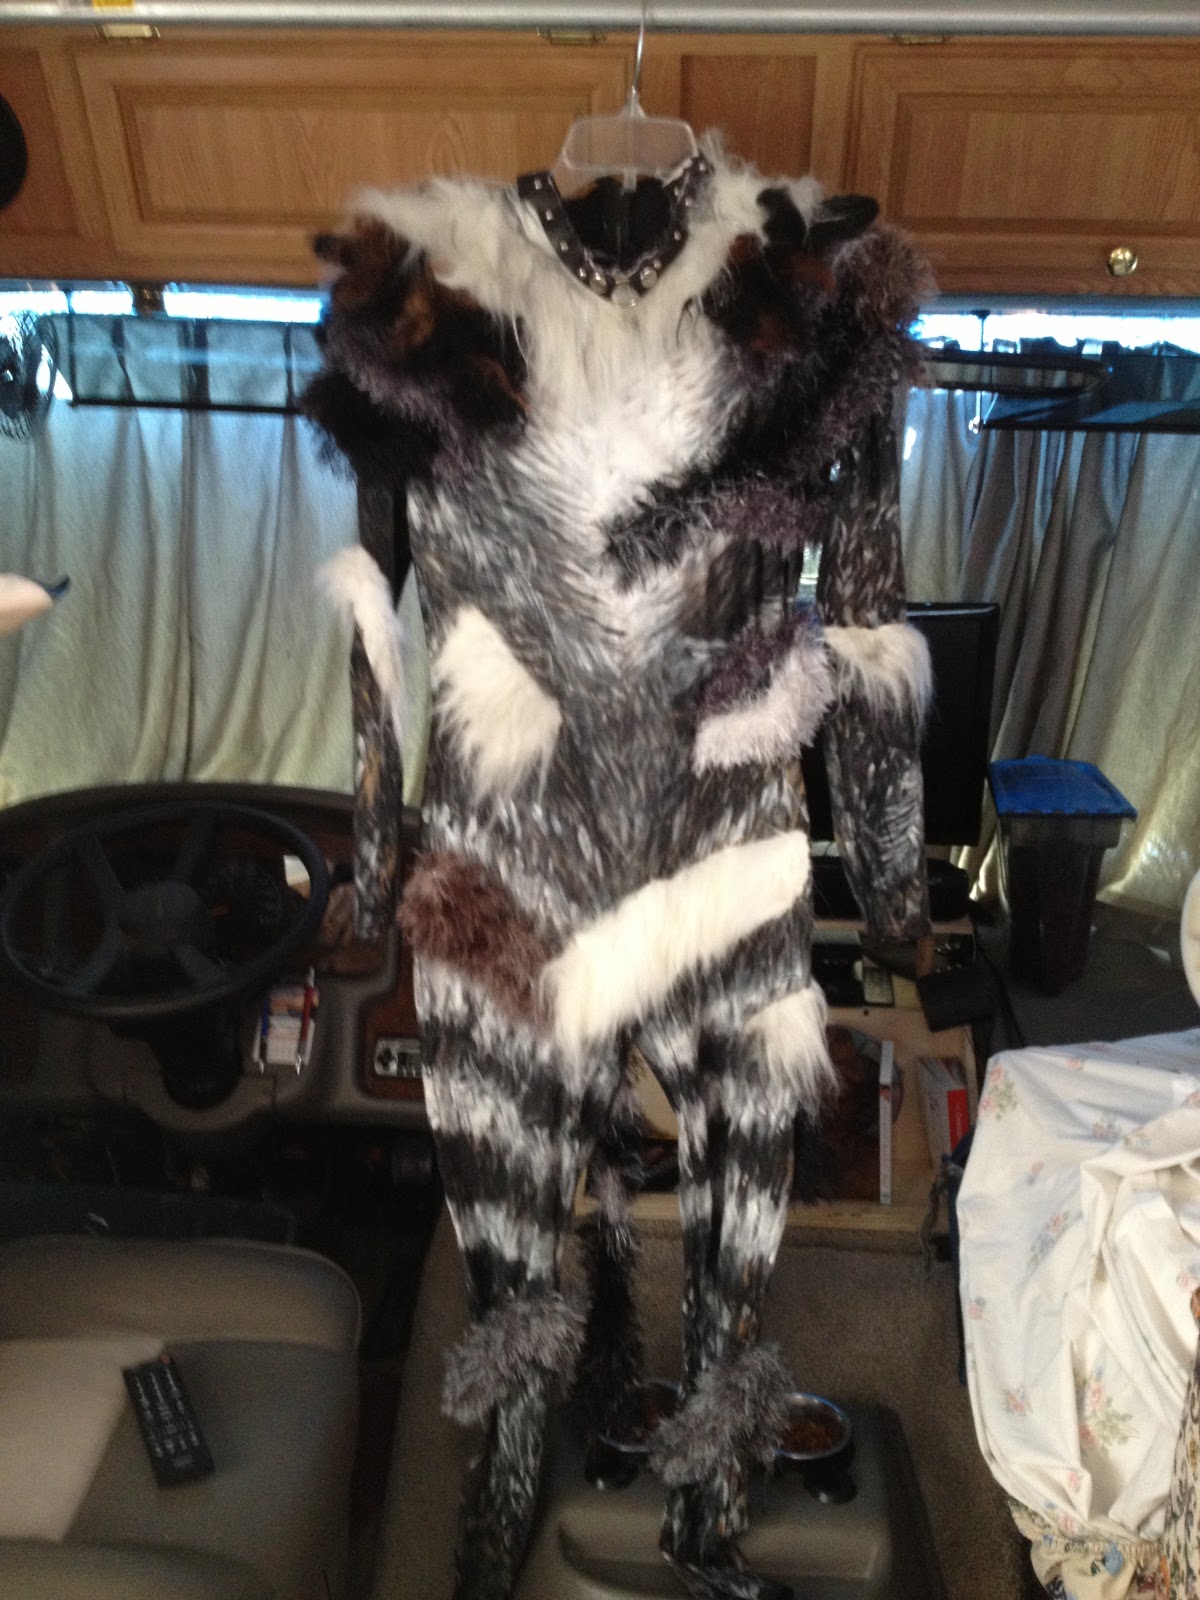
This photo you can see what I hand sewn on my costume, one by one of these fur pieces I put together from the extra frayed yarn from the wig. You can barely see the white fur along the neck line but it is there.

You can see around my waist more fur pieces

Then I added more to the back too.

Now here is my finished Costume photo.


Now for the last years Cats Costume with added extras.
I added the black and brown fur pieces along the shoulders and some in the back too.


Then I had to place more fur near the crotch area, per request by the husband. LOL

Now for the final showing of the last years costume....

ah hah Finally you got to see the finished Costume!
As
soon
as
we
can
jump
into
our
cat
skins,
you
will
get
to
see
us
cool
cats
all
decked
out
and
ready
to
prowl
through
the
night.

See that wasn't so bad waiting was it!

It was so worth the wait!
Now the wait for the other part!
Have a great day everyone!
HUGS
No comments:
Post a Comment